Sunday, February 28, 2010

Invite Mock Up


I finally got my paper for my invitations in the mail and printed up a sample of it. I think I might change the font for our names (my mom doesn't think they are fancy enough). I kinda agree with her. The only reason I chose that font was because it is the same font as our cake topper and I thought that was a cute touch. I also might add a stamp on the pocket part of the invite. The paper will also not be white. I will be printing them on Pearl Stardream paper (oh so pretty!)

What do you (whoever is reading this) think?
Rhinestone Cake Topper

I ordered my cake topper from Crafty Eddy. First I sanded it down a little and then I used silver acrylic paint and painted all except the part that goes in the cake. Then comes the fun part ,lol, putting on tons of little swarovski crystals all over it.
I used 9ss, 10ss, and 12ss rhinestones in crystal, blue zircon, and blue zircon AB. I ordered them all from dreamtimecreations.com.
* I will post more photos as I work on it.


I only have the bottom 1/2 of it done so far. My roommate just had a baby so there hasn't been much time to work on it. I am going to Ohio to visit my mom and will be finishing it there.

How to make initial on BM Guide Cover


I am planning on making a t-shirt with my future last name on it so I decided to put each of my bridesmaids initial on the cover to practice.

What you need:

- I used size 10ss and 12ss swarovski hotfix rhinestones purchased from dreamtimecreations.com

- Tweezers

- Printed sheet of your letters (you need to print them backwards- I forgot and was really lucky I choose a H so all I had to do was change what side the swirl was on)

- Lamanation paper (this didn't really work, after I ironed the letter on it melted the paper a little and I had to use a tissue with water to get it off the rhinestone.) I would recommend using Mylar paper. The only reason i didn't use it was because I didn't want to wait for it to be mailed to me. Now, I wish I had!

- Iron

- a piece of fabric to cover your rhinestones while you iron them

This was really easy to do and it doesn't take many rhinestone to make it. I think it add a little bit extra to the cover.


FINISHED PRODUCT

Bridesmaid's Guide Vol. 1


While looking at blogs and others websites I kept coming across bridesmaid newsletters and I really liked the idea. My FI and I were at a book store and I came across a book called "The big ass book of crafts" and inside it had a DIY book binding. So I decided to give it a try.

*pictures of process coming soon*

I didnt take any photos of the process of making the 1st book only because the way they tell you in the book I mentioned about isnt the way I ended up making mine. I didnt have enough paper to put in the book to make one they way authors wanted. So when I make the other books I will take photos of the way I make mine.


FINISHED PRODUCT


*Right page needs to be printed again*

So far this was the hardest project I have done, but it has been the most rewarding. All my BMs LOVED it!!


Favors

For my favors I decided to do white boxes with kisses w/ our names and wedding date on the bottom of the kisses and finished the boxes with a blue bow and a thank you tag. I also added some confetti in the boxes.
It took my roommate, my fiance, and myself about 12-15 hours to complete all 97 boxes (3 boxes came damaged)
*This is what I spent on them - $20 for 100 favor boxes at michaels (used a 40% off coupon so they cost around $12) - 2 sheets of white shimmer paper and 3 sheets of blue paper (got them for 5 for $.95 at joanns so I bought a BUNCH lol) - 3 bags of kisses $8.99 each bag (no discount- I couldnt find them any cheaper) - 2 rolls of ribbon ( 2 for $5 at Michaels) - Glue dots (it took about 300 $4.99) - 2 packs of kisses labels ($4.99 each) - 2 bags of blue paper confetti ($2.99 each) - LOTS OF TIME!! (Took me, my MOH, and FI about 15 hours to get them all done!) $65.87 plus tax (5.66 here) = $71.53 Around $.72 each!!
My fiance tying the bows. Such a trooper :)
The finished product

Wedding DIY List

So I have decided to do as much of my wedding DIY as I can. This is my list of things to do

- Favors (Done)

- Cake Topper (In progress)

- Save-the-dates (Done)

- Invitations

- Bride & Bridesmaids tank tops and flip flops

- Reception flowers (maybe)

- Reception Centerpieces (maybe)

- OOT Guest Baskets

- Bathroom Baskets

- Water Bottle labels (In progress)

- Program Paddle Fans

- Bubbles (just adding ribbon)

- Belly Bands for Invitations

- BM Guides (vol. 1 done and sent)

-
BM Gifts (jewelry and glasses)

and more... as I think of it. lol

Welcome


Hello. Since getting engaged in Aug 09, I have been logging anywhere from 6-12 hours a day online looking at various blogs and websites to get ideas for my own wedding. There are so many people out there that are very talented and have great ideas to share with the world, and I thank you for that!

I pride myself on being creative and crafty, and I started thinking that maybe I should be one of those people who put it out there, to (hopefully) help/inspire someone else, as I have been inspired by so many.

So here is a little about me.

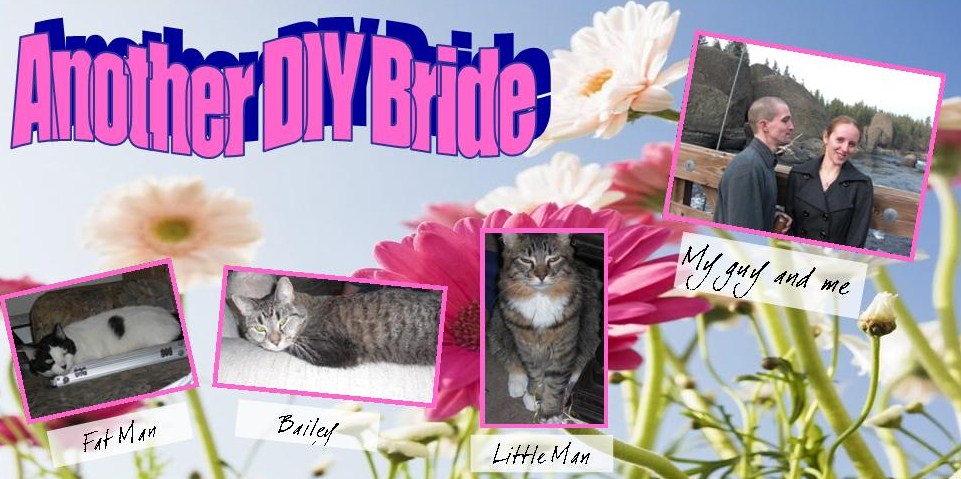
My name is Kristin. I am 24 years old and getting married in Aug 2010 in Ohio. My fiance's name is Rob and we have been together for over 6 years! We have 2 cats (Fat man and Bailey "monster") which I am sure will be appearing on here often. We live in Wa and have lived here for almost 3 years. I am unemployed at the moment, which is why I have so much free time to spend on the wedding! (yay for me.. lol)


Captain (roommates cat), Bailey, and Fat Man